Recreational Rowboats | Fishing Boats | Cruisers | New and Used for Sale
Handmade Cedar Rowboat Construction
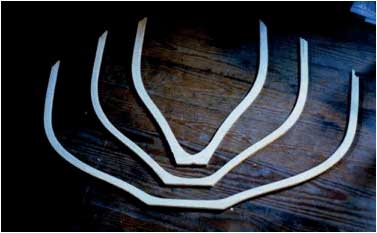
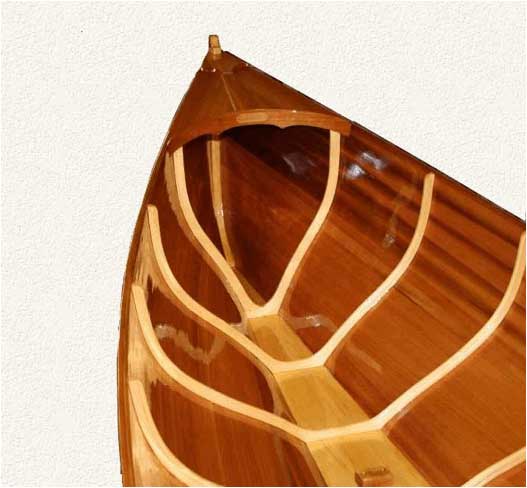
A kayak and canoe alternative is described by its ribs. These are three of the eleven ribs used in our 15-ft wooden boat. Longer boats use more ribs, shorter boats, fewer.
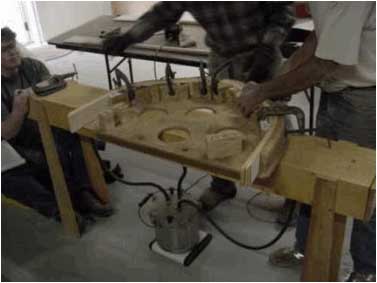
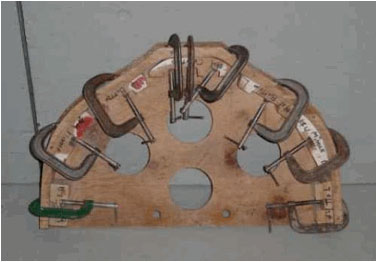
Traditionally, Guideboat ribs were cut from spruce stumps. Our approach is to steam, bend and then laminate straight spruce stock. Note the pressure cooker with hoses below the steam box. On top of the box is our jig with clamps for pulling the steamed spruce layers into conformance with our mold.
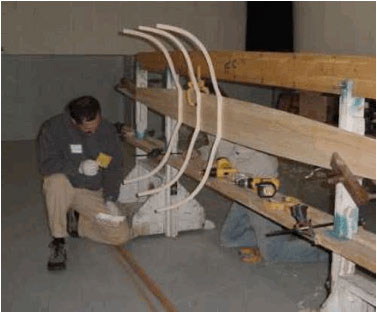
The ribs will sit in the jig until they are dry. Then they will be removed, epoxy will be placed between the leaves and the whole assembly will be wrapped in plastic to keep it from sticking to everything and then placed back to the mold and clamped where the epoxy will be allowed to set. We use wide spruce stock so we can rip the glued assembly and get five individual ribs per steaming/gluing cycle. In other words, we aren’t as dumb as we look. The bottomboard is temporarily clamped to the side of the builder’s jig. This allows the ribs to be easily attached with screws.
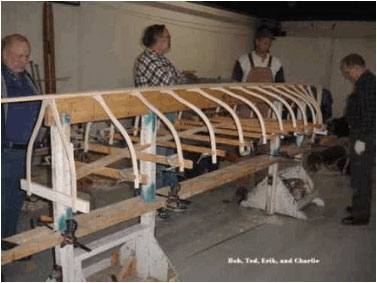
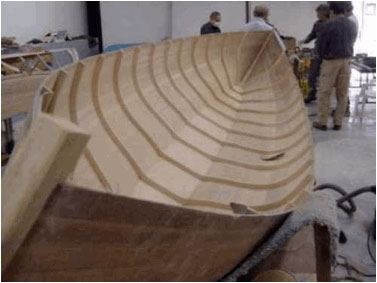
Once the ribs are attached, the boat is removed from the side of the builder’s jig and placed on top of the jig. A stretcher assembly (below and inside of the boat) is temporarily attached with clamps and then screws to keep the ribs properly placed. Once the strips are attached to the ribs the stretcher is no longer needed and will be removed. A laminated stem is attached to each end of the boat.
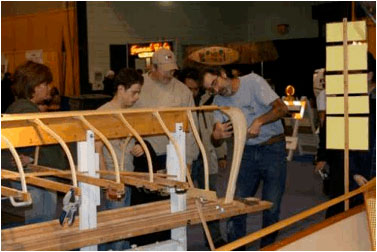
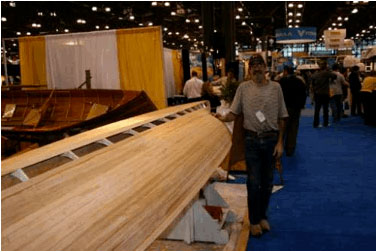
The first strip is attached. This particular hull was assembled at the National Boat Show in the span of 9 days. As this was a crowded location, the strips were temporarily stored inside the hull, something we wouldn’t normally do. One side of the boat is partially planked.
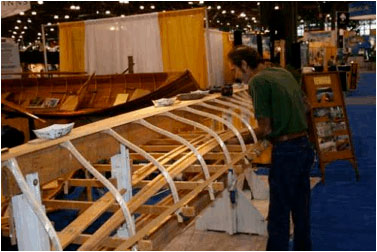
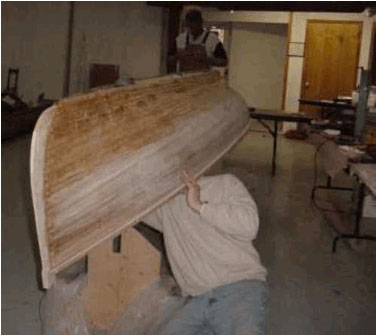
The hull is almost completely planked. After the show, It was then returned to our shop where the work was completed. With the hull complete we begin scraping and sanding.
And more sanding. (And more sanding and more sanding…but we’ll spare you those photos.) Screw holds filled and sanded.
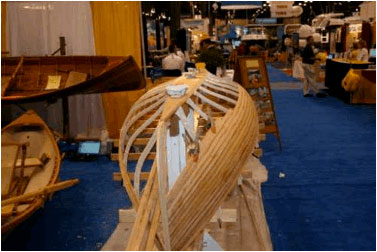
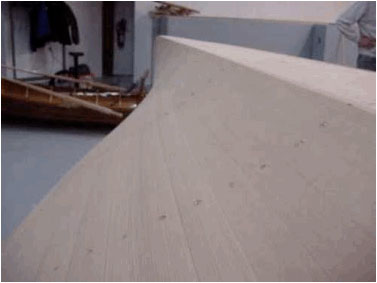
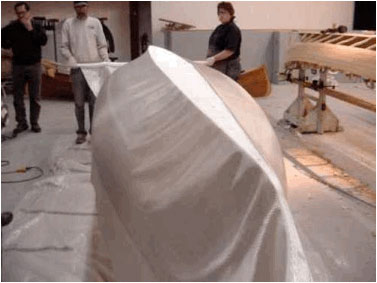
Fiberglass cloth is now dry fitted to the boat. Epoxy is now applied to the cloth….beginning at the middle and working towards the ends. We fiberglass one side of the boat at a time.
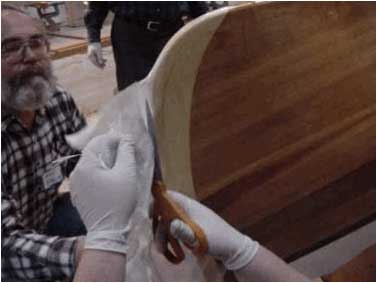
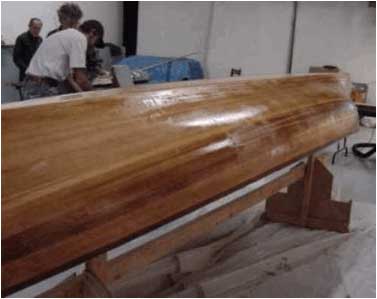
The cloth is snipped and fitted at the ends of the boat. The exterior now has the fiberglass cloth bonded to the hull. Once it is dry, some scraping and sanding will take place….then 2 additional coats of epoxy will be applied to fill the weave of the nearly invisible cloth.
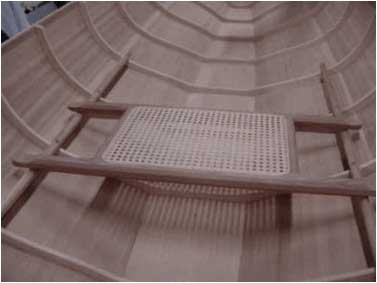
Once the exterior has been glassed and epoxied, the boat is turned over and the interior is sanded. Next, the seats and seat risers are installed. Then they are removed and the interior of the boat is painted with epoxy, no fiberglass cloth is needed. Once the epoxy has cured, 3 coats of spar varnish are applied in as dust-free an environment as we can create.
Fill out the form below to immediatey receive a download link for our full color PDF catalog.